

Woodworking is a wonderful hobby. It allows you to create beautiful and useful items from wood.
If you’re new to woodworking, starting with easy projects is a smart move. They help you build skills and gain confidence without feeling overwhelmed. In this blog post, we’ll explore simple woodworking projects perfect for beginners. These projects are fun and practical, and you can complete them with basic tools and minimal experience.
You don’t need a fancy workshop or expensive materials to get started. Whether you want to make a small shelf, a birdhouse, or a picture frame, these projects will help you enjoy the process of creating something with your own hands. So, grab your tools, and let’s dive into the world of easy woodworking!

Credit: farmlifediy.com
Contents
Introduction To Easy Woodworking
Woodworking can be a delightful and rewarding hobby. Creating something with your hands brings a sense of accomplishment. But for beginners, knowing where to start is key. Easy woodworking projects are ideal for those new to the craft. They help build skills and boost confidence.
Benefits Of Woodworking
Woodworking offers many benefits. It reduces stress and improves focus. Building something from scratch can be very satisfying. You learn to solve problems and think creatively. Plus, you can make beautiful and functional items for your home.
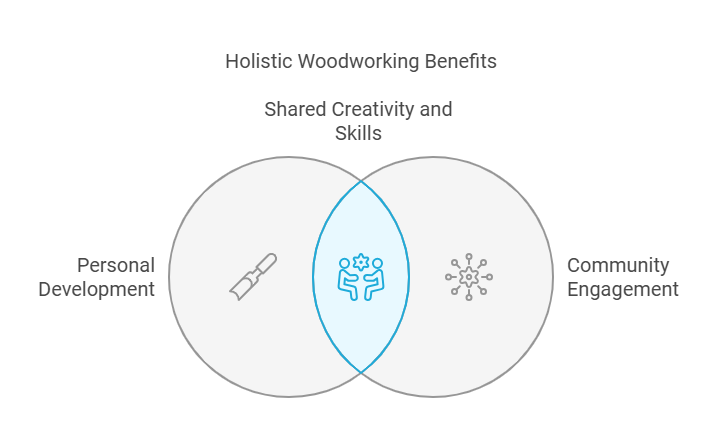
- Creative Outlet: Express your creativity through your projects.
- Stress Relief: Working with wood can be very relaxing.
- Skill Development: Improve your hand-eye coordination and problem-solving skills.
- Practical Use: Create functional items for daily use.
- Community: Join a community of fellow woodworking enthusiasts.
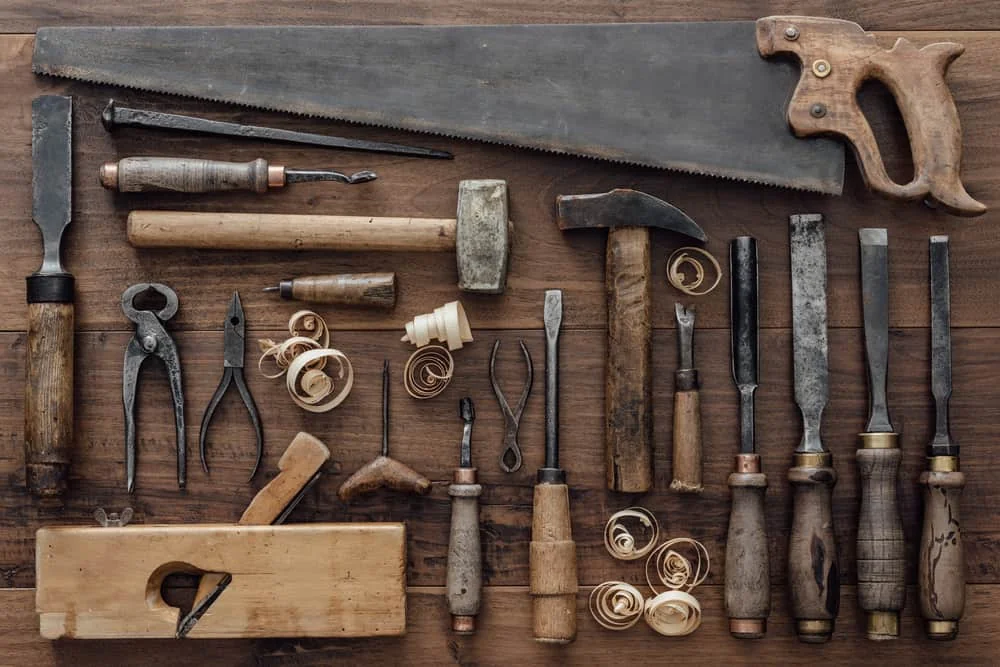
Essential Tools
Starting with the right tools is essential. You don’t need a lot to begin. Essential tools will get you far. Here’s a list of essential tools for easy woodworking projects:
| Tool | Purpose |
|---|---|
| Hammer | Driving nails and assembling projects. |
| Saw | Cutting wood to size. |
| Measuring Tape | Measuring wood pieces accurately. |
| Square | Ensuring right angles. |
| Clamps | Holding wood pieces together while the glue dries. |
| Drill | Making holes and driving screws. |
With these tools, you can start many easy woodworking projects. Happy woodworking!
Credit: www.reddit.com
Simple Shelving Units
Creating simple shelving units is a great way to start woodworking. These projects are perfect for beginners, require minimal materials and tools, and can add functional space to your home.
Materials Needed
Before starting, gather all necessary materials. Here’s what you’ll need:
- Wood boards (pine or plywood)
- Wood screws
- Wood glue
- Sandpaper
- Paint or wood stain
- Measuring tape
- Drill
- Saw
Step-by-step Guide
Follow these simple steps to create your shelving unit:
- Measure and cut the wood boards to your desired size.
- Sand the edges and surfaces of the boards until smooth.
- Assemble the frame using wood screws and wood glue.
- Attach the shelves to the frame securely with screws.
- Sand the entire unit again to remove any rough spots.
- Apply paint or wood stain for a finished look.
- Let the paint or stain dry completely before use.
Your new shelving unit is ready. Enjoy your handiwork!
Rustic Picture Frames
Creating rustic picture frames is a rewarding and straightforward woodworking project. These frames add a touch of warmth and character to your home. They are perfect for displaying cherished photographs. This project is ideal for beginners and offers room for creativity.
Choosing The Wood
Selecting the right wood is crucial. Opt for wood with natural grain and texture. Common choices include:
- Pine: Soft, easy to work with, and affordable.
- Oak: Harder, durable, and has a prominent grain.
- Reclaimed Wood: Adds a unique, weathered look.
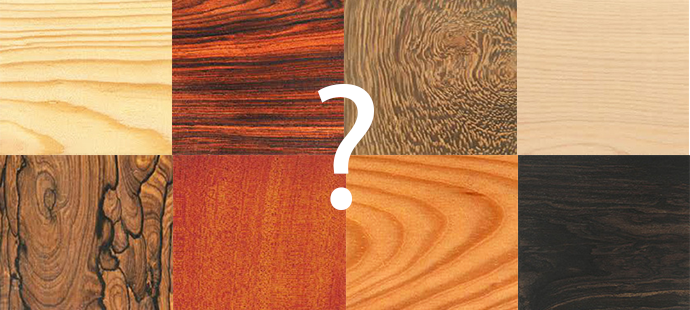
Credit: www.wooduchoose.com
Ensure the wood is straight and free of major defects. Measure and cut pieces to your desired frame size. Aim for consistent width and thickness.
Assembly Process
Assembling the frame is simple. Follow these steps for a sturdy build:
- Cut four pieces of wood for the frame sides.
- Arrange the pieces on a flat surface.
- Use wood glue on the joints for a strong bond.
- Clamp the pieces together and let the glue dry.
- Secure the corners with nails or screws for added strength.
After assembling, sand the frame to smooth rough edges. Apply a stain or paint to enhance the rustic look. Add a backing board and glass to complete the frame.
| Step | Description |
|---|---|
| 1 | Cut wood pieces to size |
| 2 | Arrange pieces on a flat surface |
| 3 | Apply wood glue to joints |
| 4 | Clamp pieces and let dry |
| 5 | Secure corners with nails or screws |
Creating rustic picture frames is a fun and easy project. It allows you to showcase your creativity and woodworking skills. Whether you use pine, oak, or reclaimed wood, each frame will be unique and beautiful.
Birdhouses For Beginners
Are you a novice in woodworking? Birdhouses are a great start. They are simple and rewarding projects. Plus, they can attract beautiful birds to your garden. Here’s a guide to help you build your first birdhouse.
Design Options
Choosing the right design is essential. Consider the size and style. There are many easy designs to choose from. Here are a few:
- Simple Box: This is the easiest design. It includes a box with a small entrance hole.
- Classic Birdhouse: A bit more decorative. It has a peaked roof and a perch.
- Modern Birdhouse: Sleek and stylish. It often has clean lines and a minimalist design.
Building Instructions
Let’s start building your birdhouse. Follow these simple steps:
- Gather Materials: You’ll need wood, nails, a saw, a hammer, and paint.
- Cut the Wood: Use the saw to cut the wood into the required pieces. For a simple box design, you need six pieces: back, front, two sides, top, and bottom.
- Assemble the Box: Nail the pieces together. Ensure the entrance hole is the correct size for the birds you want to attract.
- Attach the Roof: Secure the roof to the top of the box. Use extra nails for stability.
- Paint and Decorate: Paint the birdhouse. Choose colors that blend with nature. Add decorations if desired.
- Mount the Birdhouse: Place your birdhouse in a safe location. Make sure it is secure and not easily accessible to predators.
Building a birdhouse is a fun and easy project. It can bring joy and beauty to your garden. Happy woodworking!
Diy Wooden Planters
Creating DIY wooden planters is a rewarding woodworking project. These planters add charm to any garden or patio. They are simple to construct, even for beginners. Follow these steps to craft beautiful wooden planters with ease.
Materials List
- Wooden boards (cedar or pine)
- Wood screws
- Wood glue
- Sandpaper
- Paint or wood stain
- Paintbrush
- Measuring tape
- Saw
- Drill
- Clamps
Construction Tips
Measure and cut the wooden boards to the desired size. Use a saw for precise cuts. Smooth the edges with sandpaper to avoid splinters.
Next, assemble the wooden pieces. Apply wood glue to the joints for added strength. Use clamps to hold the pieces together while the glue dries. Then, secure the joints with wood screws.
Drill drainage holes at the bottom of the planter to prevent water from accumulating inside. Sand the entire planter to remove any rough spots.
Finish the planter with paint or wood stain. Choose a color that complements your garden. Apply at least two coats for a durable finish. Allow each coat to dry completely before applying the next one.
Finally, fill the planter with soil and your favorite plants. Enjoy your beautiful new addition to your garden!
Crafting Wooden Coasters
Crafting wooden coasters is a simple and fun woodworking project. These coasters can add charm to your home decor. They make wonderful, handmade gifts for friends and family. Plus, creating them can be a rewarding experience for beginners.
Selecting The Wood
Choose the right wood for your coasters. Different woods offer various looks and strengths. Hardwoods like oak, maple, and cherry are durable. They last longer and resist wear. Softwoods like pine are easier to work with. They are lighter and less expensive. Each type of wood has a unique grain and color. Pick one that matches your style.
Finishing Techniques
Finishing your coasters is an important step. It protects the wood and enhances its beauty. Sand the coasters until smooth. This removes any rough edges. Apply a wood stain to highlight the grain. Choose a stain color that complements your decor.
After staining, apply a clear sealant. This protects the wood from moisture. Use a brush to apply the sealant evenly. Let it dry completely between coats. You may need two or three coats for a durable finish. Finally, add small rubber pads to the bottom. This prevents the coasters from scratching surfaces.
Building Simple Furniture
Creating your own furniture can be a rewarding and practical project. You don’t need to be a master craftsman. With some basic tools and materials, you can build sturdy and attractive pieces. Let’s explore some simple designs and assembly tips to get you started.
Basic Designs
Starting with basic designs makes the process easier. Consider these simple furniture ideas:
- Bookshelves: Easy to build with straight cuts and simple joints.
- Side Tables: A small table with a flat top and four legs.
- Benches: Simple seating with a flat seat and legs.
These projects require minimal materials. You can use common wood types like pine or plywood. Focus on clean, straight lines and basic shapes.
Assembly Tips
Proper assembly ensures your furniture is strong and stable. Follow these tips:
- Measure Accurately: Use a tape measure and mark cuts carefully.
- Pre-Drill Holes: Prevent wood from splitting by drilling pilot holes.
- Use Clamps: Clamps hold pieces steady while you attach them.
- Check for Level: Ensure surfaces are level before final assembly.
- Sand Edges: Smooth edges to avoid splinters and give a finished look.
These steps help create a professional look and feel. Take your time to ensure each piece fits perfectly. This attention to detail pays off in the end.

Credit: www.youtube.com
Decorative Wooden Signs
Decorative wooden signs are a great way to add a personal touch to your home. They are easy to make and can be customized to fit any style. Whether you want a rustic look or a modern design, wooden signs can be a perfect addition to your decor. In this section, we will explore creative ideas and tips for painting and finishing your decorative wooden signs.
Creative Ideas
Creating decorative wooden signs can be a fun and rewarding project. Here are some creative ideas to get you started:
- Inspirational Quotes: Choose your favorite quotes and paint them on the sign.
- Family Names: Personalize the sign with your family name or a loved one’s name.
- Seasonal Themes: Create signs for different seasons or holidays.
- Welcome Signs: Greet your guests with a warm and welcoming message.
- Custom Artwork: Design and paint your own artwork on the wooden sign.
Painting And Finishing
Painting and finishing your wooden signs can enhance their beauty and durability. Follow these steps for a professional-looking finish:
- Sand the Wood: Start by sanding the wood to create a smooth surface.
- Apply a Primer: Use a primer to prepare the wood for painting.
- Choose the Right Paint: Select acrylic or latex paint for the best results.
- Use Stencils: Use stencils to create clean and precise designs.
- Seal the Paint: Apply a clear sealant to protect the paint and wood.
With these simple tips, your decorative wooden signs will look stunning and last for years to come.
Conclusion And Next Steps
Woodworking projects are both fulfilling and practical. You’ve now completed some easy projects and should feel proud. Let’s discuss what comes next in your woodworking journey.
Review And Reflect
Take some time to review your completed projects. Look at what you did well and what could be improved. This step is crucial for growth. Consider the following questions:
- Did you follow the plans accurately?
- Were your measurements precise?
- Did you choose the right materials?
Reflecting helps you to identify areas for future improvement. Keep a journal of your experiences. This will serve as a valuable resource for your next projects.
Advanced Projects
Ready to take on more challenging projects? Here are some ideas for advanced woodworking projects:
- Build a bookshelf
- Create a dining table
- Construct a garden bench
These projects will test your skills further. They will also provide useful items for your home.
Make sure to gather all necessary tools and materials. Double-check your plans before starting. Advanced projects require more planning and precision.
By moving to advanced projects, you continue to develop your skills. Each project will bring new challenges and learning opportunities. Stay patient and enjoy the process.
Frequently Asked Questions
What Are Simple Woodworking Projects For Beginners?
Simple woodworking projects for beginners include birdhouses, picture frames, and shelves. These projects require minimal tools and basic skills. They help build confidence and improve techniques.
What Tools Do I Need For Easy Woodworking?
Basic tools for easy woodworking include a saw, hammer, measuring tape, and drill. These tools are essential for most beginner projects. Investing in quality tools can improve your results.
How Long Do Easy Woodworking Projects Take?
Easy woodworking projects typically take a few hours to complete. Time depends on the project’s complexity and your skill level. Planning and preparation can help reduce the time required.
Can I Make Money With Simple Woodworking Projects?
Yes, you can make money with simple woodworking projects. Create and sell items like shelves, picture frames, and birdhouses. Market your creations online or at local craft fairs.
Conclusion
Woodworking can be fun and fulfilling. Simple projects are a great start. You learn new skills and create something useful. Try making a birdhouse or a small shelf. These tasks are easy and enjoyable. Plus, they give you a sense of accomplishment.
So, grab your tools and start today. Enjoy the process and see your skills grow. Happy woodworking!